From Pixels to Polygons: An Expert Guide to Image to 3D Model Conversion
 By Felix Thibault
As 3D artists and developers, we're always looking for ways to streamline our creative workflows. For years, creating a 3D asset from a real-world object meant painstaking photogrammetry or modeling from scratch. But what if you could bypass that entire process?
Today, the landscape has been transformed by AI. The ability to convert a single image to 3D model files is not just a novelty; it's a practical tool that is democratizing 3D creation. This guide provides an expert walkthrough of the technology, best practices we've learned from processing thousands of models, and how you can get professional-quality results, often for free.
Why This Technology is a Game-Changer for Creators
The practical applications for high-quality image to 3D model conversion are immense and directly impact creative and commercial pipelines.
- Rapid Prototyping in Game Dev & VFX: In production, speed is critical. Generating a 3D mesh from concept art or a reference photo allows for rapid iteration on game assets and visual effects props, saving dozens of modeling hours.
- Accessible 3D Printing: This technology empowers designers and hobbyists to create tangible objects without deep knowledge of complex CAD or sculpting software. It's perfect for custom miniatures, replacement parts, and artistic creations.
- Enhanced E-commerce: For online stores, providing an interactive 3D view of a product has been shown to increase user engagement and conversion rates. This tech makes it feasible for businesses of all sizes to create 3D product catalogs.
- Immersive AR/VR Environments: Building realistic virtual worlds requires a vast library of assets. Using AI to generate models from real-world images allows developers to quickly populate their scenes with authentic objects.
The Technology Explained: How AI Infers 3D Space
At its core, converting a 2D image to a 3D model is a problem of inferring missing data. An AI model must predict the depth, volume, and unseen sides of an object from a single, flat plane of pixels. Here’s a simplified breakdown of how it works:
- Feature Recognition: The AI, trained on vast datasets like ShapeNet, first identifies the object and its key features.
- Depth Estimation: It analyzes lighting, shadows, and perspective to create a "depth map"—a grayscale image where lighter pixels represent points closer to the camera and darker pixels are further away.
- Normal Mapping: The AI calculates the orientation of the surface at every point, creating a "normal map." This is crucial for defining curves, edges, and fine details.
- Mesh Generation: Using this spatial information, the system generates a polygonal mesh (usually a quad or tri-mesh) and wraps it with a texture extrapolated from the original image.
The result is a lightweight, textured 3D model in a standard format like GLB, OBJ, or FBX, ready for use in other software.
A Step-by-Step Professional Workflow
Achieving a great result is about more than just clicking "generate." Following a structured workflow is key.
Step 1: Source Image Selection (The Most Critical Step)
The quality of your output is directly proportional to the quality of your input. Our tests show that the ideal source image has the following characteristics:
- Subject: A single, clear, primary subject.
- Lighting: Diffuse, even lighting is best. Avoid hard shadows or blown-out highlights, as these can be misinterpreted as geometric features.
- Resolution & Focus: Use a high-resolution image where the subject is in sharp focus.
- Background: A clean, neutral background is ideal. If the background is busy, you'll need to isolate the subject.
Step 2: Isolate Your Subject
For maximum accuracy, the AI should only analyze the pixels belonging to your subject. A common point of failure is when a busy background is mistaken for part of the model. We strongly recommend using a precise tool, like our integrated Background Remover, to create a clean cutout before generation.
Step 3: Generate the 3D Model
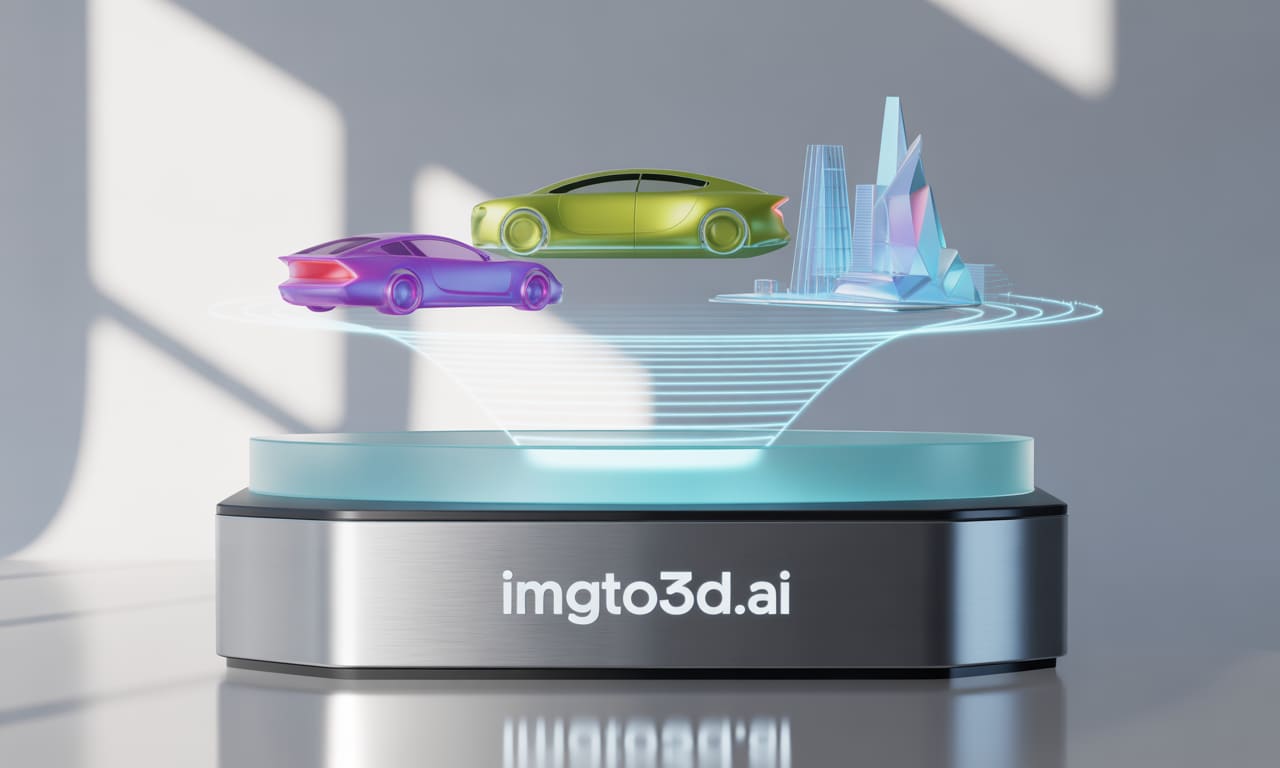
Upload your prepared image to a reliable generator, such as the ImgTo3D.ai AI 3D Model Generator. The platform will process the data and provide a 3D preview. Review the initial mesh for major errors before proceeding.
Step 4: Refine and Export
Many platforms now offer post-processing tools. You can apply different material properties or artistic filters with a feature like AI 3D Style to achieve a specific look. Once satisfied, export the model.
Troubleshooting Common Issues
Even with a perfect source image, AI can sometimes produce unexpected results. Here’s how to troubleshoot common problems we see:
- Problem: The model has holes or non-manifold geometry.
- Cause: This often happens with reflective/transparent surfaces or when parts of the object are occluded.
- Solution: Try a different photo taken from another angle with better lighting. For minor fixes, you can import the model into a free tool like Blender and use its mesh repair functions.
- Problem: The back of the model is distorted or flat.
- Cause: The AI has to guess what the unseen part of the object looks like. This is a fundamental limitation of single-image reconstruction.
- Solution: This is the trade-off for the speed of single-image conversion. For a fully detailed model, traditional photogrammetry (using multiple photos) is still the superior method. However, for many applications like game assets where the back isn't seen, this is often acceptable.
Beyond Photos: From Sketch to 3D Model
This technology also works wonders for concept art. Artists can use a Sketch to 3D Model tool to quickly turn character designs or prop drawings into a 3D base mesh. For best results, use clean line art with clear, closed shapes.
Your 3D Journey Starts Here
AI-driven image to 3D model conversion is a powerful tool that, when used correctly, can drastically accelerate creative projects. By understanding its capabilities and limitations, you can integrate it into your workflow effectively.
Ready to apply these techniques? You can begin experimenting with our image to 3D model free tools today and start building your 3D asset library. We are committed to refining this technology and welcome feedback from fellow creators.
About the Author
Felix Thibault is a Lead Creative Technologist at ImgTo3D.ai with over 12 years of experience in 3D modeling, procedural generation, and real-time graphics. Alex is passionate about making 3D creation tools accessible to artists and developers everywhere and has led the development of the core AI model discussed in this article.